Our blog

Fix a non-spinning Samsung washer by following these troubleshooting steps for a quick solution.
Read post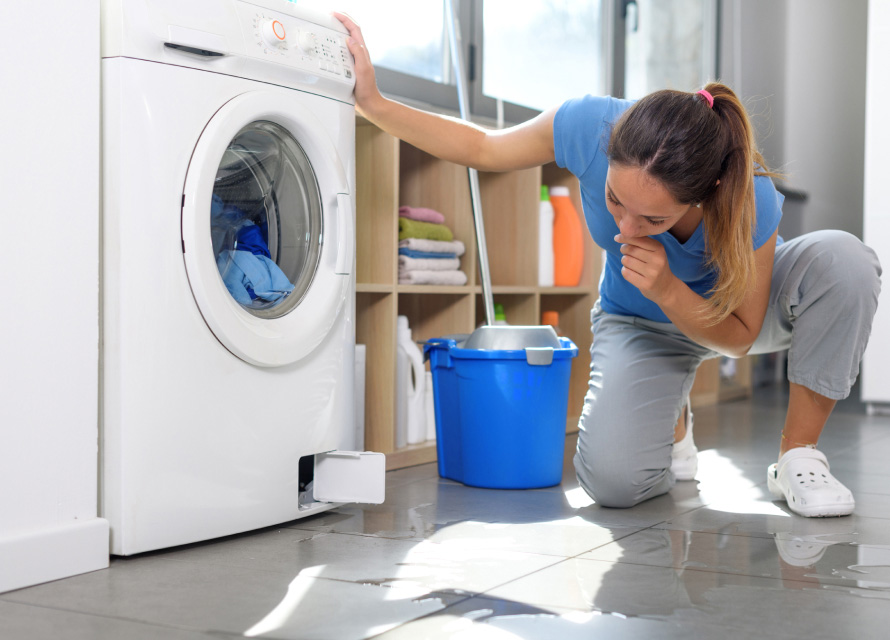
Fix a bottom leak in your Samsung washer with these easy-to-follow steps to prevent further damage.

If your Samsung oven isn’t heating, follow these troubleshooting steps to get it back to work.
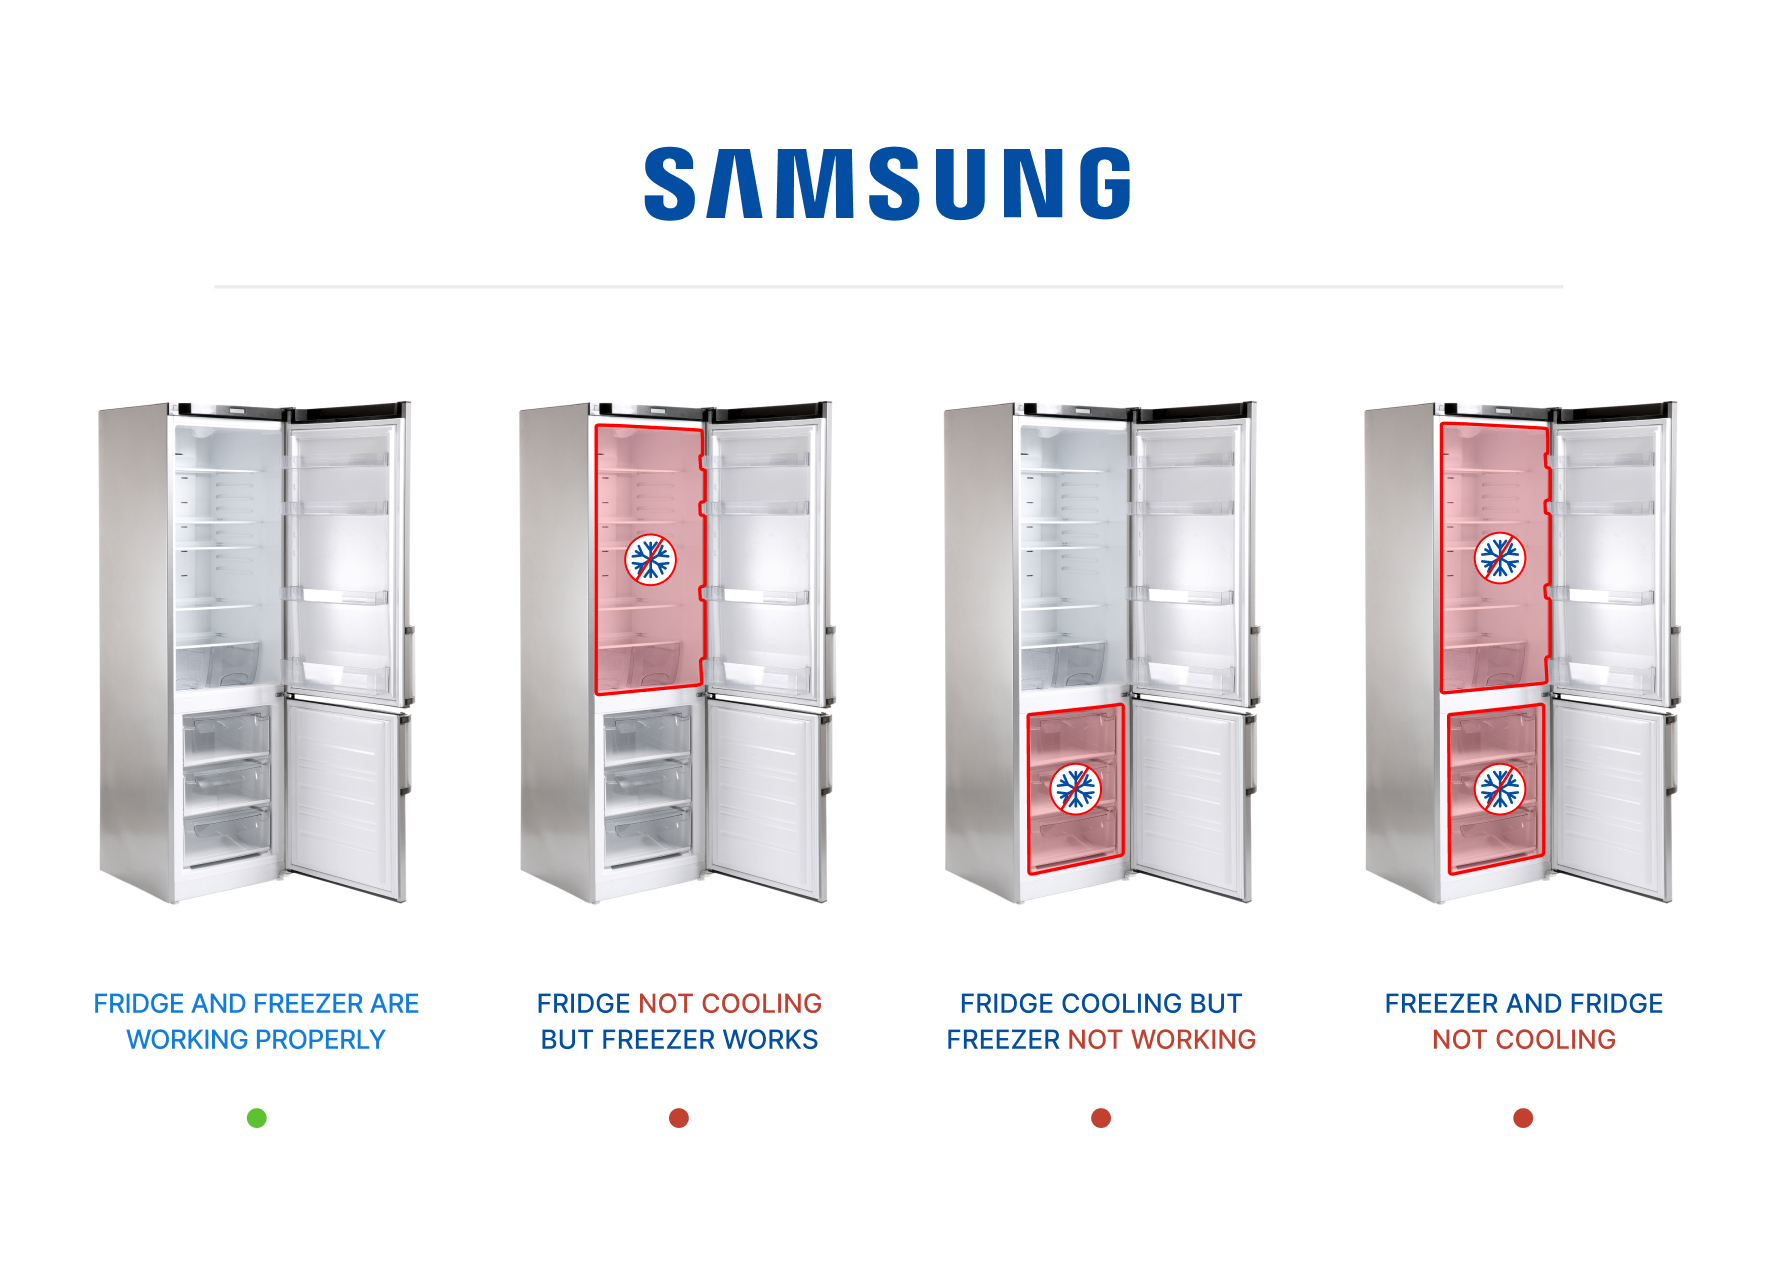
Fix your Samsung fridge if it’s not cooling with these steps for quick and effective solutions.

Learn how to stop your Samsung fridge from leaking water with these easy troubleshooting steps.
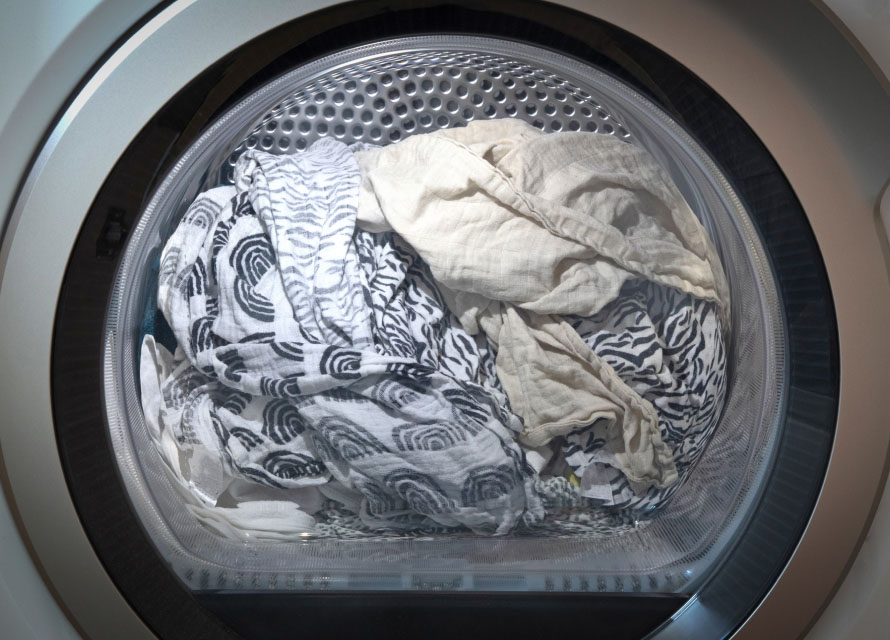
Fix your Samsung dryer if it’s not spinning by identifying common issues and troubleshooting them.
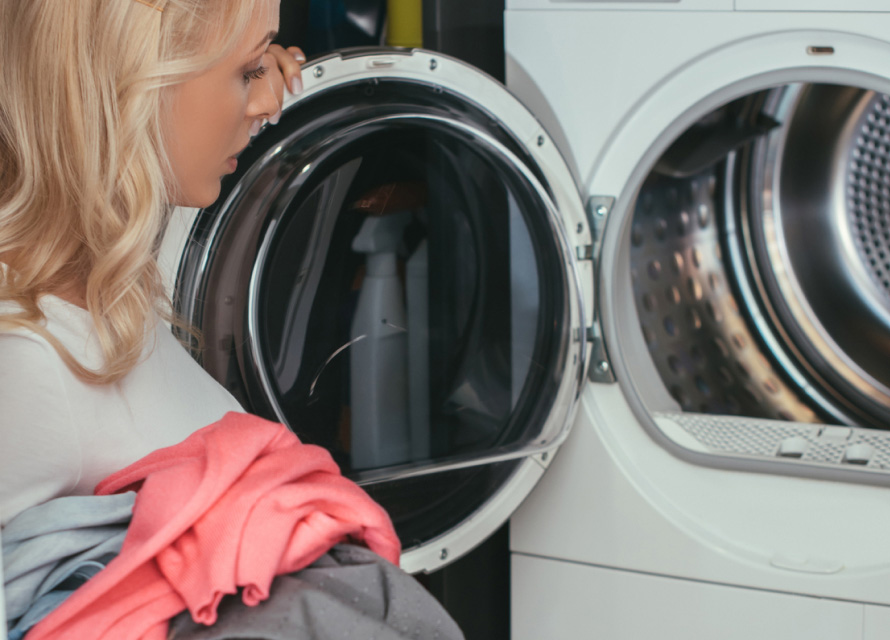
Learn how to fix your Samsung dryer if it’s not heating up with these helpful troubleshooting steps.

Fix the noise in your Samsung dryer by following these quick and easy troubleshooting tips.
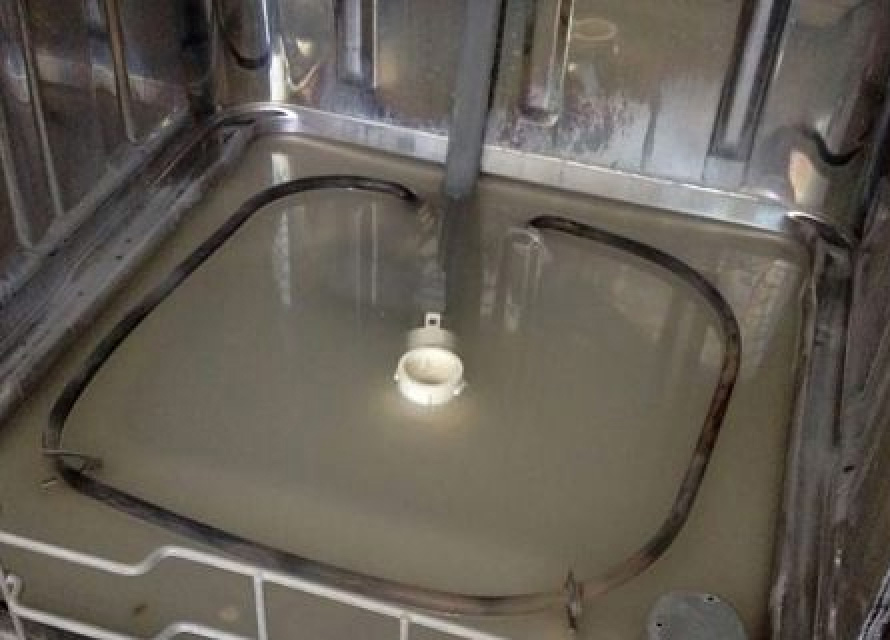
If your Samsung dishwasher isn’t draining, follow these troubleshooting steps for a quick fix.

Fix a leaking Samsung dishwasher with these tips to prevent water damage and restore function.