Appliance Repair Expert near me - Same-day professional service
Book now
Washing Machine Not Draining – How To Fix?

4 simple steps to help you if your washer won’t drain

Doing laundry is a necessary part of life, but when your washer won’t drain, the chore can become an inconvenient and time-consuming hassle. Fortunately, there are some easy steps you can take to troubleshoot and potentially fix the problem yourself. From checking the hoses to cleaning out the filter, these tips can help alleviate your worries and keep your washer running smoothly.

Step #1: Inspect the drain hose

Inspecting the drain hose is one of the essential steps in troubleshooting a washer that is not completely. The drain hose is responsible for carrying the water out of the washing machine and into your home’s drainage system, so it’s important to make sure it’s in good condition. First, check for any kinks or bends in the hose that may be causing a blockage. If you find any, straighten or replace them as necessary.

Next, check for any clogs or debris inside the hose. You can do this by removing the hose from both ends and running water through it to flush out any obstructions manually. If you notice anything significant during this process, clean it thoroughly with a pipe cleaner or long brush.

Finally, ensure your washer’s drainage system is properly installed and connected to your home’s plumbing system. A poorly connected drainage system can cause leaks and prevent your washing machine from draining correctly. Inspecting your drain hose regularly and following these tips can help avoid common issues like clogs and leaks.

what to do if washing machine is not draining

Step #2: Clean the pump filter

Another reason your washing machine won’t drain is because of a clogged pump filter. It is responsible for removing any debris, lint or foreign objects that may have been left in your clothes before the wash cycle. Over time, these materials can accumulate and cause a blockage in the pump filter, preventing water from draining as it should.

To clean the pump filter, you’ll first want to unplug your washing machine and turn off the water supply. Locate the pump filter, typically behind a small panel at the bottom of your washing machine. Using pliers or your fingers (depending on how tight it is), unscrew the cap covering the pump filter and remove any debris inside by hand or with a small brush.

Once you’ve cleared out all debris from inside, replace both cap and panel back onto their original position, then plug back in your washer along with turning on its water supplies before running another cycle to ensure everything runs smoothly once again without any issues!

Step #3: Examine the water level sensor

The water level sensor, also known as a pressure switch, is an essential component of washers that controls the amount of water in the drum during a wash cycle. If this sensor fails to work correctly, it can lead to water not draining from the washing machine.

To examine the pressure switch, you need to locate it inside your washer. It is usually located on or near the top panel and identified by its small size and thin tubing connected to it. Once found, remove the tube from both ends and blow into one end while listening for a click sound from the sensor. If there is no clicking sound, your pressure switch needs replacement.

Another way to check if the water level sensor is faulty is to unplug the washing machine and pull out the wires, remembering their location. Using a multimeter set to the continuity mode, check if there is continuity between each terminal at different times before and after filling with water. If no connection is found during any of these tests, the pressure switch must be replaced immediately.

Step #4: Test the door lock assembly

The door lock assembly is responsible for locking the door securely during the wash cycle, and if it fails, the washer will not drain. To test if the door lock assembly is causing your washing machine drainage issues, there are a few tips to follow.

First, make sure the washing machine is switched off and unplugged. Next, locate and remove the door switch or lock on your specific washing machine model. Using a multimeter designed to measure resistance or continuity, check for breaks in the electrical connections when you press or release the switch.

If there are any breaks in the electrical connections when you release or press this button, you may need to replace this part completely, as it has most likely failed due to wear and tear over time. Replacing this part usually involves removing the screws that hold it in place and disconnecting the wires before installing the new part according to the reverse instructions.

Author: Jacob Dillard
My name is Jacob Dillard, and I am the author of articles at Appliance Repair Expert. Since childhood, I have been fascinated by technology and spent much time reading different books and trying to repair my first CD player. Then, I graduated from the University of Toronto with a degree in Applied Science and Engineering. In a year, I got my first job as a technician at an appliance repair company. After years of practice and working with professionals, I decided it was time to share my knowledge and experience here at Appliance Repair Expert. I want to help you understand everything related to appliance repair, maintenance and installation in the simplest way possible. It will be fun, believe me!
Rate this post:
Average rating: 0/5
Total votes:
Share:

Book your appliance repair today!

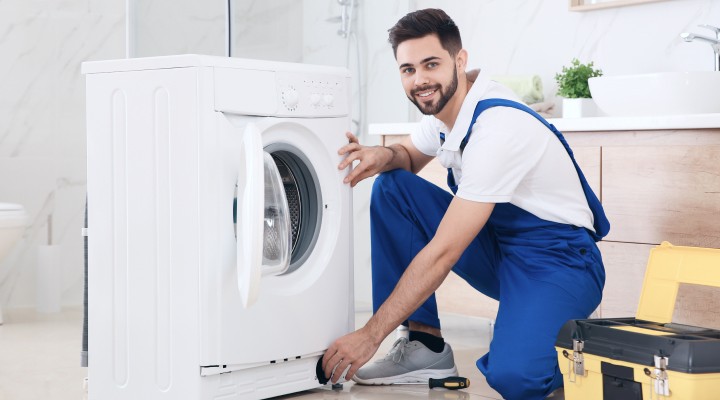
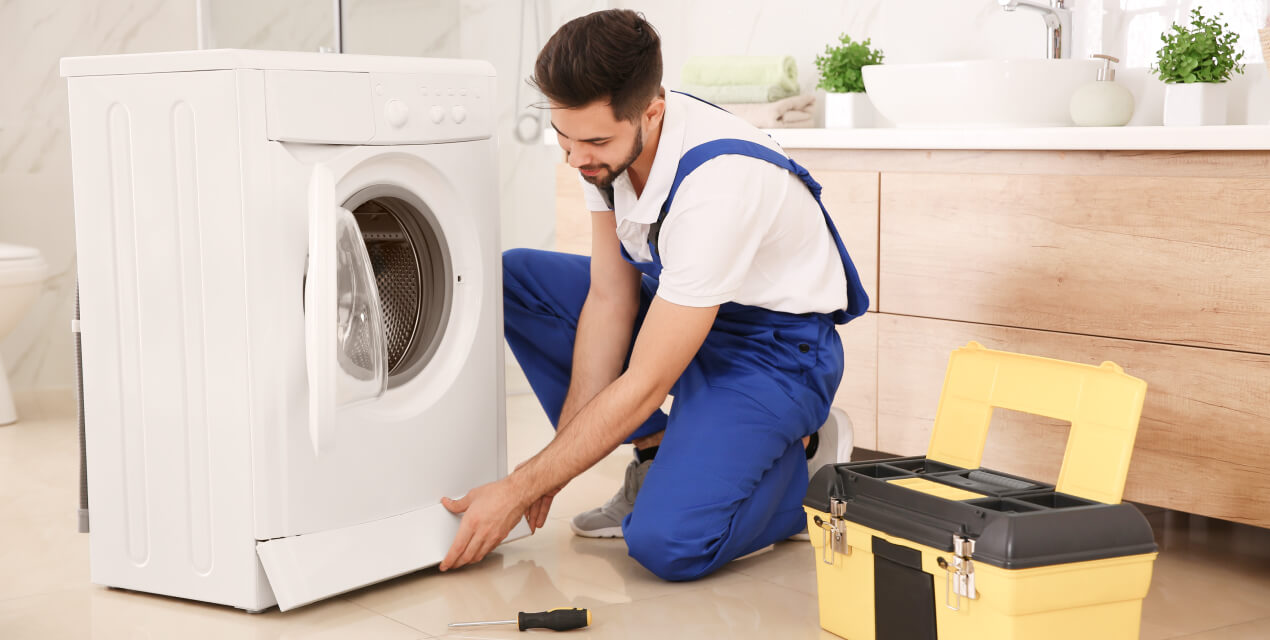
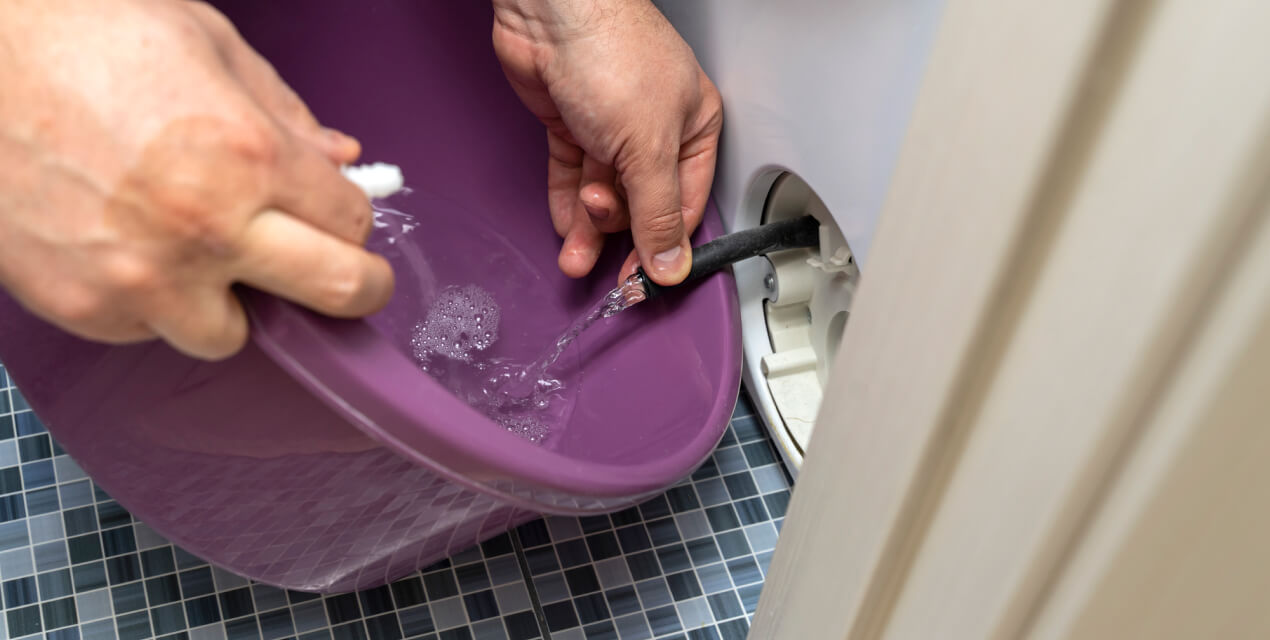
Seeking “washing machine technician near me“? Our company has many years of experience in servicing large laundry appliances. We can repair any washing machine, regardless of brand, modification, year of manufacture.

Book online
book image

Our washer repair service is available throughout Canada

Contact the CEO

Do you have complaints or suggestions?

Contact the CEO - we're always open for communication, ready to solve your problems, and accept proposals.